JSON Web Tokens (JWTs) offer seamless sign-in, allowing users to carry their authentication securely across different applications within the same ecosystem. In this article, let’s go through the process of configuring JWT-based authentication with Grafana for a smoother user experience.
Create a RSA key pair
Begin by creating an RSA key pair. The private key will sign the JWT token, while the public key will verify it.
ssh-keygen -t rsa -b 4096 -m PEM -f grafana.key -N ""
openssl rsa -in grafana.key -pubout -outform PEM -out grafana.key.pub
Configure JWT authentication
With the key pair in place, configure JWT authentication in Grafana. You can use environment variables or a configuration file. Here’s an example using environment variables:
GF_AUTH_JWT_ENABLED=true
GF_AUTH_JWT_URL_LOGIN=true
GF_AUTH_JWT_AUTO_SIGN_UP=true
GF_AUTH_JWT_HEADER_NAME=X-AUTH-TOKEN
GF_AUTH_JWT_KEY_FILE=/etc/grafana/public-key.pem
GF_AUTH_JWT_EMAIL_CLAIM=sub
GF_AUTH_JWT_USERNAME_CLAIM=user
If you would like to use configuration file, you can use the following configuration in your grafana.ini file:
[auth.jwt]
enabled = true
header_name = X-AUTH-TOKEN
email_claim = sub
username_claim = user
key_file = /etc/grafana/public-key.pem
url_login = true
In the above configuration, we have set GF_AUTH_JWT_URL_LOGIN to true. This will enable the URL based login by passing the JWT token as a query parameter. We will see this in action in the next section.
X-AUTH-TOKEN is used to pass the JWT token via HTTP header. If you would like to use a different header, you can set the GF_AUTH_JWT_HEADER_NAME environment variable.
GF_AUTH_JWT_EMAIL_CLAIM=sub specifies that Grafana should look for the email address of the user in the sub claim of the JWT token. The sub claim is traditionally used to represent the subject of the token, but in this case, it is repurposed to carry the email information.
GF_AUTH_JWT_USERNAME_CLAIM=user indicates that Grafana should retrieve the username of the user from the user claim in the JWT token. The user claim is a custom claim, and its content depends on how the JWT tokens are generated in your authentication system.
Generate JWT token
Once we configured Grafana to use JWT authentication, let’s generate a JWT token using the below Python script:
import jwt
import time
import webbrowser

private_key = open('./grafana.key', 'r').read()

payload = {
    "user": "foobar",
    "sub": "foobar@example.com",
    "iat": int(time.time())
}

token = jwt.encode(payload, private_key, algorithm='RS256')

base_url = 'http://localhost:3000'
url_with_token = f'{base_url}?auth_token={token}'

webbrowser.open_new_tab(url_with_token)
The above script will generate a JWT token and open Grafana in a new tab with the JWT token as a query parameter. Grafana will validate the JWT token and log the user in.
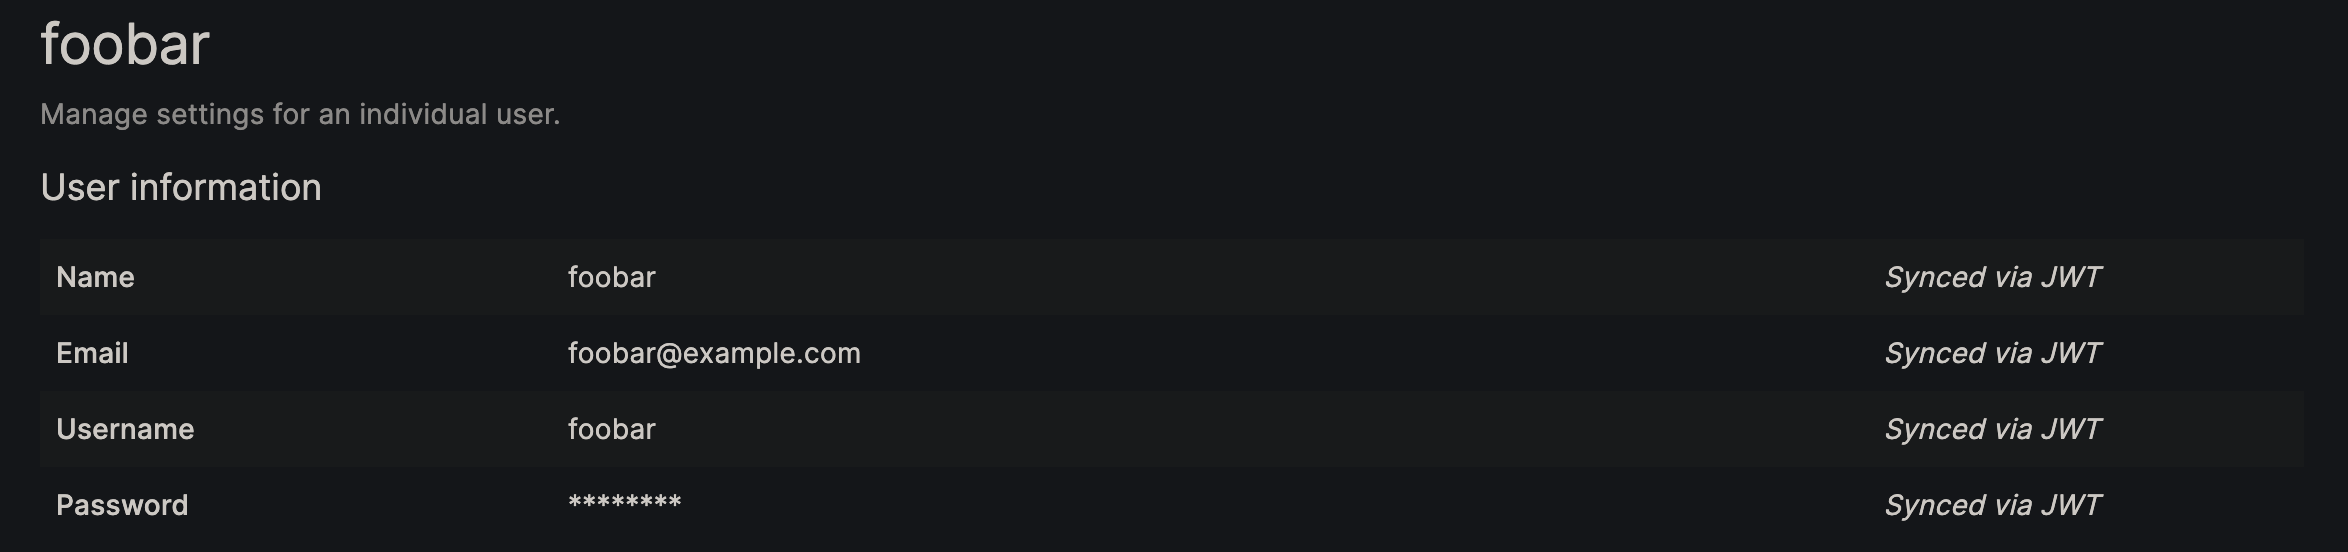
If you go to the Admin page, you will see the user details populated from the JWT token.
Conclusion
Depending on your use case, this setup can be extended to embed Grafana dashboards in your application via iframe. Explore additional options, such as using JSON Web Key Sets (JWKS) and assigning roles to users, in the Grafana documentation.